Showing posts with label Tutorial. Show all posts

Monday, March 11, 2013

Water decal mini tutorial + review

Thanks to Born Pretty Store, I can tick off another thing that I've always wanted to try: water decals. They've always puzzled me as to how they can still maintain their stickiness after getting soaked in water! But in reality, after my first hand experience, I'm in love with how quick and easy they are to use.

On with the review. The cutest nail file came with the pack of 12 water decals. Bonus points for matching colours. Click here or on the photo to access the direct link to the decals. I chose #20.


Below is a mini tutorial on the process that I went through to get these babies on my nails. The trick is pretty much to soak each decal for a good 5 seconds before trying to peel them off. And only file AFTER the decals have completely dried on your nails. Or they'll move and give you a hard time.

Here are a few more photos to show off this super gorgeous nail art pattern.

 My vanity never ceases to amaze me.

Final Verdict:
♥ Super easy to use. The more you wet it, the easier it is to work with.
♥ Extremely versatile and forgiving. You won't get any wrinkles because everything can be smoothed down when it's still wet.
♥ You have so many design varieties to choose from!
♥ Remember to seal EVERYTHING well with topcoat. Or they'll curl up and die in the shower because as water decals, they hate getting wet.

If you're going to believe someone just once in your life, then you should most definitely believe me on this one because you will not regret it!

Don't forget to use my discount code MUL91 at the checkout.

Until next time, my pretties!

Tuesday, January 8, 2013

Make your polish dry faster: ice water method tutorial

I think by far, waiting for your nail polish to dry is the biggest turn off when it comes to changing manis. You can't do anything during that time! Even the slightly bump can ruin a perfect polish job.

Today I bring to you, wait for it, drum roll please... A tutorial on using a bowl of icy water to dry your nail polish in under 15 minutes (I also had in total 6 layers of nail polish: 1 base, 4 polish, 1 topcoat). And I should add, I slap on really thick layers of polish each time.

Step 1
Before you dive into painting your nails, get the water and ice ready. There's nothing worse than ruining your nails before you even got to dry them. You'll need a cup of ice, and half a bowl of tap water.

Step 2
Add the ice into the bowl. Be careful because I got splashed.

Step 3
Watch the ice starting to melt already! Now you can start painting your nails. On a hot day, it'll still take the ice 30 minutes to melt away completely. So don't rush yourself. Slow and steady wins the award of perfect-no-clean-ups-needed-manis.

Step 4
Make sure to always put on topcoat. I waited around 1 minute after my layer of topcoat, then plunged my fingertips into the bowl of icy water.

The rule is:
Alternate every 15 seconds for each hand. Otherwise your fingers will feel like they're going to freeze off. Repeat each hand 4 times so it adds up to 1 minute per hand. 2 minutes in total.

You can dry your hands off afterwards but make sure to avoid your nails. My polish was dry to touch in 5 minutes' time after taking them out of the water. The most amazing thing is that they're pretty much indestructible after half an hour! As opposed to my normal 2 hour wait because I like thick layers.


Check out the result! I used Essie Lilacism. It is such a gorgeous cool shade for summer.


Like they say, time is money. I've just saved myself a lot of money.

Sunday, January 6, 2013

5 minutes glitter nail polish removal tutorial


I'd like to thank everyone's support for the success of my previous removal tutorial and roll out the second installment, how to remove the much loved (and hated) glitters.

This tutorial is everywhere already but I hope this will be the mother of all tutorials! Be the most comprehensive.

Step 1


Get the piece of foil ready. Any type will do. The cheaper the better. I like to find mine in those variety / $2 stores. But it doesn't really matter because there is an ingenious way of saving foils and time!

Step 2


You'd have to trim the large piece of foil down to smaller pieces. I'd like to have mine around 4cm by 5cm because I have rather long nails which make typing pretty difficult. The trick is to make a little snip (shown in the previous image) and just rip along the snip. Saves time cutting without folding the foil.

Step 3

Gather your foil pieces. So shiny! Sparkle sparkle.

Step 4

Get your nails ready. Mine's all ugly and chipped because I was naughty and didn't put on topcoat from my last mani.

Step 5

Put a cotton strip over your nail like shown in my last tutorial. Click HERE for the link. I've just noticed that my nails are green in both tutorials. Fate is at work. Kind of scary since I sometimes have dreams about an event then it comes true the next day. Usually bad things. Sucks to be me.

Step 6

Grab a piece of foil and wrap it around your nail. Don't worry if it is messy and it's not rolled up like a perfect tube. Foil is the most forgiving, nail-related material I've ever used.

Step 7

After it's been wrapped around your nail, fold the extra tip down behind your nail. Gently squeeze around your finger to make sure everything is secure. The key reason for the foil is to prevent the nail polish remover from evaporating. They keep everything nice and moist so the remover can do its job to be fullest.

Step 8

Repeat steps 5-7 for all of your nails. I'd like to do one hand at a time because it is a bit clumsy working with foil as fingertips. Shiny sparkly fingers. Leave it on your fingers for 1 to 2 minutes.
WARNING: Your nails WILL feel hot underneath the foil. That is because although manufacturers try to make their chemicals as 'safe' as possible, it is NOT natural for your skin. Don't worry, just remember to moisturise really well afterwards.

Step 9

After 1-2 minutes, remove the foil capping while still leaving the cotton on your nails. I like to save the foil cap to do my other hand with.

Step 10

Like in the first removal tutorial, hold down and drag the cotton piece off the nail. This is with just one swipe. Pretty impressive, right?

Step 11

As you can see, the only flaw is that this method isn't 100% effective on chunky glitters. Not to worry! You can either scratch them off with your nails, or repeat the cotton piece removal method on the chunky glitters. They've already been softed by the remover so they'll have no problem coming off.

Step 12

Like I said before, recycle the foil tips and use them on the other hand! Saves you time cutting, folding, squeezing and they're so much eaiser to use the second time around.

I hope this was helpful and comprehensive enough. I swear this took me 5 minutes. No joke!

Thursday, August 23, 2012

Sponge nail art: Mini tutorial for gradient nails

Sponging is one of the fastest and easiest way of creating amazing nail art designs. Galaxy nails are usually done through this technique. My favourite, though, would be gradient nails because the porous texture left by the sponge makes blending super duper easy.

Feel free to click on the image below to enlarge the tutorial.


 I like to cut up my make up sponge into smaller bits so I'm not wasting it. I'm pretty sure that kitchen sponges would also be fine. Another great tool is the spongey eyeshadow applicator. Make sure to gently dab off any excess before dabbing the colour onto your nails. I like to dab on the tip colour first then go back and dab on a bit of the base colour if the tip is too overwhelming.

The trick is actually not to worry about being messy or too fussed about the bumps left by the sponge while you're dabbing. A layer of topcoat will fix everything down with a super smooth surface.

The end result:

Base colour: Essie Splash of Grenadine
Tip Gradient: OPI Dim Sim Plum


You have no excuse not to have gradient nails. I will take over the world, with a sponge at a time.

Friday, November 26, 2010

Nail shaping tutorial (square tips)

I am so so so sorry for not blogging for so long. I've moved houses recently and I will continue to be internet-less for another week, if I'm lucky. I'm camping out at my mum's shop right now, stealing her internet. I promise that once I get my internet back, I will try to blog more tutorials!

This tutorial was requested by Christie months ago. I'm really sorry that it's taken so long to be uploaded. This is only for square or square-oval tips.

So let's get started! Before I cut my nails, I like to take my nail polish off and take a shower. It is very important to soak your nails so that they are soft and malleable. This will make cutting a lot easier as your nails will not resist the force as much (Newton's 3rd Law). I've actually cracked my nail once because I was cutting them when they were not soaked prior. So always soak your nails! I am starting to sound like a broken tape recorder. Now gather your equipments. Not much, just nail clippers and a nail file.
Get your nails ready! My nails are already square because I've been rocking these since June, July. I don't think I'll be going back to round nails any time soon because I find that square nails look tidier (personal preference). But most importantly, square nails are structually stronger! My nails do break a lot less with square tips.
I actually don't know how often I cut my nails. Numerous people have asked me when I do cut my nails. I do it when I feel they are long enough to be broken (really depending on my mood and how daring I am). If your nails are normal-shaped (something that is not nature-defying like a square), then just cut along the lines that I've drawn. Make sure that you're cutting in a straight line. When your nails are dried, they will curve in naturally.
Tips on cutting: Work your way in from the sides, little by little. It doesn't matter is the edge is not completely even because it will be filed down. Don't try to cut off the whole nail in one go as this will bend the nail and may cause it to crack. Also leave 1mm more than your desired length because you will file off about 1mm. Here's what I mean by curving in naturally:
After your nails have been cut to the desired length, leave it to dry for a few minutes. I find that this makes filing easier. Now let's start filing! Always file in one direction, from one end to the other in one, firm stroke. Do not go back and for like a saw. Your nails are not like dead wood. They have feelings. If you love them, they will love you back. After filing you'll find that there are some excess left on the tip.
Brush the excess off and gently file perpendicular to the direction that you were filing before but this time at a tilt to clean up the edge. I hope you understand my dodgy diagram. You could also use the nail file to scrape around the inside of the nail to get rid off the pesky little bits that just refuse to come off. File around the corners too smooth out any sharp edges.
Dust off all excess and you're done!
Now you have square tips that are oh-so-chic! Feel free to ask me questions about my unnatural nail shape.

Wednesday, September 22, 2010

Ruffian moon manicure tutorial

I've noticed that there is a current trend in "Ruffian Moon" manicures. Creative Nail Design, otherwise known as CND is leading this trend with several variations of this manicure style. I was inspired by these 2 examples:
I do not own this image. Credit to source.
I do not own this image. Credits to source.
So I've decided to create a simple tutorial for creating this stylish look.

If you remember my Channelling Chanel entry, I talked about using french tip guides that can be purchased on Ebay for next to nothing. Well, great news! I've found an even cheaper method that eliminates the shipping time: hole punch reinforcement stickers! They can be found in all news agencies in the stationery section. Now gather them and cut them in half so one ring can be used twice.
Paint your nails a base colour. I wasn't bothered to make the whole thing perfect becase only the bottom of the nails will be seen. I've used 4 coats of Essie Pound Cake at the bottom. It is a light nude that leans towards greige and has a slight pink tinge. I would definitely paint my walls this colour. Looks so refreshing.
As you can see, the tips are not properly painted. This did not affect layering in any way. Apply a quick dry topcoat or wait for as least an hour for the polish to dry properly so that sticking wouldn't ruin the base. Get your semi-ring. Stick it on the palm of your hand to remove the excess stickiness. Stick it onto the bottom of your nail and make sure the semi-ring is stuck firmly to your nail otherwise bleeding will ruin everything.
I applied OPI Dim Sim Plum to the top half of my nail. I got a perfect coverage with 2 coats. I then applied China Glaze Matte Magic Topcoat for an extra twist.
Remove the semi-ring when the top half is almost dried. Check out the final result.
I'm pretty happy with it seeing that this manicure was so quick, easy and cheap to do. Those reinforcement rings would also be perfect manicure guides. Maybe some glitters would spice things up a little more. Go nuts!

Monday, September 20, 2010

5 minutes nail polish removal tutorial

Disclaimer: I am definitely recommending this method. I do not claim this as my own. I learnt it from Deborah Lippmann so I'll recognise her as the original source. However, the true origin of this amazing 5 minutes method is yet to be discovered.


Nail polishes are terrific when you don't need to remove them. It used to take me up to 30 minutes swiping the nail polish off using millions of cotton buds. It was both a waste of time and precious cotton buds that are needed for other great things like making sure my ears are squeaky clean. Too much info?

One bright and sunny day, I was browsing through my favourite nail blog (because I have no life), I came across a Youtube clip of Deborah Lippmann showing her quick and easy way of removing nail polish. That lady is a genius. I tried it at once and it worked so well. I've been using this method for a couple of months now and it has been unbeatable! Except with large chunky glitter like China Glaze Doll's House but maybe it was my fault since I applied 5 coats of the stuff. I've been introducing this amazing method to my friends and they all love it (the ones who tried). So here's a tutorial if you don't yet use this method.

Step one. Gather your equipment. You'd obviously need nail polish remover, I like mine acetone-free. It is purely psychological because as long as you're not consuming acetone, it won't do much harm. You nail polish is actually killing you more than your remover. Now that you've gotten your remover, get some cotton balls. They have to be BALLS. Not buds, not tissues, BALLS. Go out and buy a packet if you don't have any. They are so cheap and will last you forever. I only need 1 ball to remove both of my hands.
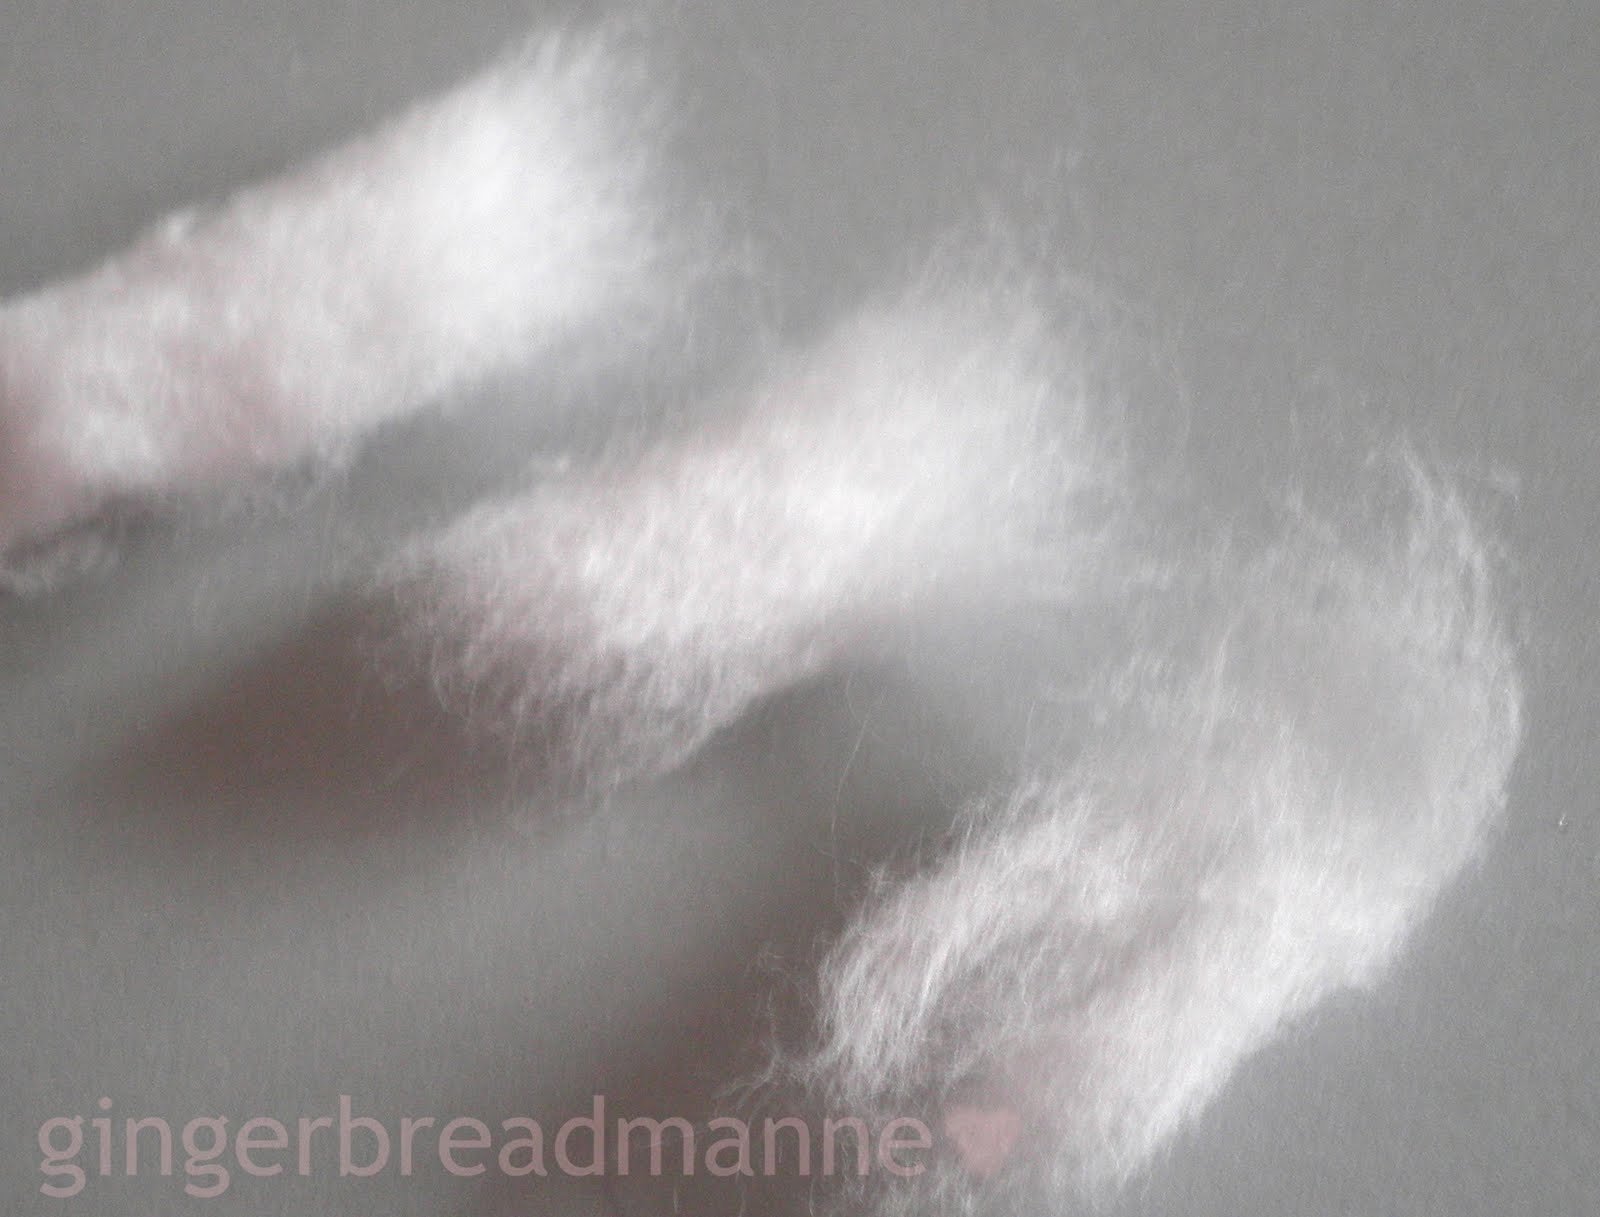
Now grab your ball. They're so fluffy. Unravel it into a strip.
It should come apart easily as the ball itself is produced by ravelling a strip like a snail shell.
Split your strip down the middle vertically into 2 strips. I am saving you money!
You can continue to split but I like mine with a little bulk. So now tear them into little pieces that are nail-sized. No need to be neat since this is all going to go into the rubbish bin anyway.
Keep tearing until you have a lot. I usually have 12-15 pieces. 10 for my nails and the others for wiping and cleaning up any bits of nail polish left behind.
Now you have the cotton pieces ready. Get your nail polish remover and pour it into the lid and fill it up like so.
Nice and smelly. Now take one of those cotton pieces (let's call it CP) and dip it into the remover. Don't dunk it in. Just dip in the edge because the remover will travel up the CP. Too much remover on the CP will dribble like crazy when you're pressing the CP onto your nail. It could travel up your hand all the way to your elbow. Happened to me before. Not a pleasant experience.
Press the wet CP onto your nail gently. It should be completely wet and cover your entire nail.
Do the same for all the other fingers. I like to do mine one hand at a time because I need the other hand to wipe the CP off.
Leave them on your nails for 1-2 minutes, give or take. That's the time where the remover is doing its job. This is similar to soaking your nails in remover but a lot less harsh on your skin. You nails will not absorb the remover. Like I said before, your nail polish would've killed your nails more than the remover. Next, grab a new piece of CP and wipe off the wet CP from your nail while pressing down with some force. Put some muscle into it! Do it from your nail bed to your nail tip. This way, your nails will not be damaged.
If you do it correctly, almost everything (if not everything) should come right off your nails.
I only have some polishes remaining on the sides because my thumb is flat, not curved like my nails, so I couldn't apply enough force to wipe the sides. Now repeat this for all the other nails.
This is with only one swipe. My index finger, middle finger and pinky are completely clean in just one swipe! This would've taken forever with cotton buds. Use your remaining CP to do the other hand and clean up any bits that maybe be left on your nails.
In the end, you'd have beautifully clean nails.
I even have a strip of CP left over. So that means I've used less than 1 cotton ball to remove all my nails.
I did time myself and found that I've completed the whole process in under 5 minutes, including the soaking time. So I don't think I'll ever return to the primitive cotton buds method ever again.

Just a few important things before I go:
♥ Never use tissue to remove nail polish. Tissue is actually quite coarse and will damage your nails.
♥ My nails used to peel even when I used cotton buds. With this method, my nails don't peel nor dry out anymore after removal.
♥ Always wipe from nail bed to nail tip. Swiping back and forth and/or in the opposite way will make your nails peel.

Now that it only takes 5 minutes for you to take off your nail polish, maybe you'd change your nails more often. Come on, I dare you.